Instructions: Preparing your napa cabbage to make kimchi with forward ROOTS' Kimchi Sauce


BRINING (1.5 - 2 hrs)

Use approximately 1/4 cup of Kosher salt (Diamond Crystal) for 2-3 lbs of napa cabbage. (Avoid iodized salt.)

Without washing the napa cabbage, cut the napa in half. Cut each half into halves; resulting in 4 quarter pieces.

Choose between 2 options:

1) Salt each quarter between the leaves, salting heavier near the core (the thickest part of the leaves) OR

2) Take the quarter napa and cut across (horizontally) from the tip of the leaf to the core into 1” pieces and place into large bowl of water. Repeat this process with each quarter. - Remove the cut napa pieces from the water into an empty bowl. Toss the salt over the napa pieces and gently toss to evenly coat with salt.

Let the napa rest and brine 1.5—2hrs. Turn over the napa (bring bottom pieces to the top) every 30 minutes. You want to ensure that the brining liquid, that collects at the bottom of the bowl, comes into contact with all the pieces as your turn over the pieces throughout the brining process.

RINSE

* Drain the water out of the bowl.

* Place the bowl of napa in the sink; sit a strainer over another bowl.

* With the cold water running into the bowl of napa, rinse the napa and scoop into the strainer.

* Pour out the used water in the bowl, rinse the bowl and fill it up again.

* Toss the napa back into the clean water and repeat this process 3-4 times.

* The rinsing helps remove any dirt and excess salt. Taste it after a couple of rinses, to check for saltiness, if too salty, give it another rinse.

DRAIN

* Let the napa drain in the strainer. (20 - 30 minutes).

* Draining the excess water helps the seasoning adhere to the napa and reduces diluting the seasoning.

Preparing other vegetables:

RADISH BRINING (same process for other hard vegetables ie green cabbage, carrots, pumpkin, etc)

Use approximately 3/4-1 Tbsp of Kosher salt (Diamond Crystal) for 1 lb of vegetable.

* Wash and cut the radish into thin squares (or as desired, consistent sizes).

* Add the salt & sugar, toss to coat evenly and let rest for 20-30 mins.

* Strain the radish, reserve the liquid to be used at end of jarring to wash the seasoning from the mixing bowl and for extra liquid to top off after packing the jar.


ASSEMBLY

* Add the kimchi paste to the napa (with sliced onions, matchstick carrots/radish, green onions) and mix gently with your hands, evenly coating all the pieces. Do the same if using other types of main vegetables such as radish, green cabbage, carrots, punpkin, etc.

* Taste your kimchi for seasoning. It should taste salty, note that it will balance out during the fermentation. If you find that it needs a little more salt, season with extra salt.

* If it’s overly salty, add extra vegetables; you can also adjust the seasoning during the fermentation by adding thin slices of radish/produce between the layers.

* It’s time to fill your jar/container. Make sure to pack down as your fill your jar to avoid air pockets.

* Leave an inch head space from the top of the jar; the kimchi will push upwards as the fermentation kicks in, this gas buildup is most active during the initial stage of fermentation; a sign that the living bacteria are hard at work.

* Containers: use glass jars, plastic containers (BPA free), fermentation crocks. Avoid metal containers because acid reacts to metal.

STORAGE

* Place the lid on the jar, gently turn the lid till it stops. Place the jar on a plate to catch any overflow.

* Place the kimchi on your kitchen counter, away from direct sunlight.

* Check your kimchi daily for signs of tiny bubbles. It’s always good to open the jar and press down on the kimchi with a clean spoon to keep the contents below the liquid line. You want to create an anaerobic (free of oxygen) environment to prevent surface mold.

* Depending on the room temperature, you will start to see tiny bubbles within 1-3 days. At this point, your fermentation has started, press contents down, tighten the lid, and place in the fridge. It will continue to ferment in the fridge but at a slower pace, this helps maintain a crunchier texture and deepens the flavors.

* Kimchi can be eaten at any point during the fermentation process; most Koreans prefer it freshly made or in weeks 2-3.

* Mature/aged kimchi (both liquid and vegetables) can be used in cooking (fried rice, bibim noodles, Korean pancakes, soups, ramen, mac & cheese); adds depth of flavor.


Please do not copy or distribute.

© 2017-2023 FORWARD ROOTS LLC™

suin park
Kimchi Pancake

Kimchi Pancake (2-4 people)

This is one of our favorites at home, it can be an appetizer, banchan (side dish), snack or a light meal. It’s easy, quick, crispy, tangy and spicy. The batter comes together in minutes or a few more depending on how simple or loaded you want to make it. 

Simply put, this recipe works for you with basic pantry items and leftover produce in your fridge that needs a little attention. Aged sour kimchi is used to add flavor to this savory pancake. We know most folks who love kimchi have a forgotten jar in the back of the fridge, held onto it too long, and now do not know what to do with it. Consider yourself really lucky, fate is on your side! 

Ingredients:

1 cup all purpose flour

Pinch of salt

Pinch of sugar (optional)

1 cup water (or plain soda water)

½ cup of kimchi

2 tbsp of kimchi juice

2-3 cups of vegetables - any combination of:

Carrots, matchstick 

Onions, thin slices 

green onions - ½” cut

Chives - 1” cut

green cabbage - thin sliced/shredded

Spinach - chopped

Etc

Oil for cooking (olive, grapeseed, canola, sunflower, safflower oil)

Instructions:

Place the dry ingredients in a large bowl and whisk the contents to evenly incorporate. 

Add the water and gently fold into the dry mix, avoid overmixing, you want to just wet the dry ingredients.

Toss in the kimchi, kimchi juice and vegetables and continue to gently fold the batter over the vegetables till evenly coated. You want to put a light coating on the vegetables. If the batter is too thick, add a bit of water, tablespoon at a time. If too watery, add extra flour.

Let the batter mixture rest for 5 minutes

Cooking:

On medium-high heat, heat a cast iron or non-stick frying pan with a tablespoon of oil, coat the surface. 

Spoon the batter mixture on the pan spreading it in a circular motion to the size you want, spread it out thin and even and let it cook. Adjust the heat as needed, as the pancake starts cooking.

When the edges are dry and the surface opaque, flip over, press down gently with the back of the spatula and let it cook.

Feel free to add extra oil after flipping by taking the spatula, lifting up one side and adding oil under the pancake, move the pancake around to spread the oil underneath.

Feel free to flip more than once to evenly brown/cook.

If sharing, cut into triangular pie slices or squares; if enjoying individual pancakes, tear apart into bite sized pieces with chopsticks and enjoy.


Note:

  • For extra crispy pancakes, add extra oil.

  • Serve hot, room temperature or chilled. 

  • Feel free to add kimchi sauce or gochujang (red chili pepper paste) for additional savory spiciness.

  • Can freeze leftover pancakes with parchment paper between each pancake and store in freezer bags, to take out as needed. 

  • Reheat frozen or thawed pancakes on a pan with a little oil; heat both sides and serve.

  • Double/triple up recipe or half as needed.

suin park
Kimchi Slaw
forward ROOTS fresh kimchi slaw over rice.jpg

Kimchi over rice is sometimes all you need to make a healthy complete meal. At the end of the day, all you want is something simple, flavorful, with little effort. This dish was a go-to for my mom and I find myself making the same using fresh, delicious, contrasting textures.

You can prepare this in no time and any leftovers will taste even better next day as the flavors continue to dance.

This is a great way to use up any odds & ends or excess in your fridge. Depending on what you have in the fridge at that moment, it’s different every time.

What you will need & How to:

  • fresh produce such as carrots, radish, onions, chives/green onions, apples (you get the idea)

  • make thin matchsticks out of all your produce; slice the green onions on a bias (looks pretty) and throw all the contents into a bowl that is big enough to mix.

  • dollop(s) of kimchi sauce, to taste.

  • mix thoroughly; if you use less sauce, go ahead and season with salt & sugar (optional).

  • garnish: sesame seeds, fresh veggies as show in photo (enoki mushrooms, cucumber, cabbage), gochujang sauce, sesame oil (optional)

  • substitute rice with quinoa, grains or noodles & enjoy!

refrigerate any leftovers, good up to 3-5 days; the liquid that seeps out of the veggies should definitely be used too, it’s full of good nutrients.

suin park
Labneh with Kimchi Oil & Roasted Almonds
forward ROOTS labneh with Kimchi Olive Oil dip.jpg

Labneh:
Line a strainer with coffee filter(s), spoon yogurt into the filter. Season with salt & fresh minced garlic (optional). Place the strainer over a bowl and cover. Place in the fridge to strain 6hr-overnight.

Kimchi Olive Oil with Almonds:

Drizzle our Kimchi oil over the labneh and garnish with extra chopped roasted nuts.

Kimchi oil is also delicious with:

  • good crusty bread

  • drizzled over your:

    • eggs

    • hummus

    • soup (especially pureed)

  • add to sour cream/yogurt for a or creamy dip or to cream cheese for a cheesy sandwich spread.

  • Some have confessed to eat it straight out of the jar with everything.

suin park
Rice Cake (Tteokbokki) Gnocchi Mac & Cheese Style
forward ROOTS rice cake (tteokbokki) gnocchi mac & cheese.jpg

We grew up eating kimchi with spaghetti, mom surprised us the first time she made traditional Italian tomato sauce, a recipe she got from one of the Italian customers at the store. She made this often in the store basement and the aroma would fill up the place. The sauce simmered low & slow for hours, testing our patience.

This recipe calls for a simple sauce, feel free to use any of your favorite store bought marinara sauce, we’ll flavor it with kimchi and kimchi sauce, then bake it with rice cake (tteokbokki) gnocchi, plus cheese of course. As the ingredients bake and come together, the rice cakes become pillowy, the sauce creamy and piquant. Warm & comforting like a big hug. If you don’t have access to rice cake, use your favorite macaroni.

What you will need:

[Served 4]

  • 1 Tbsp of oil for sweating vegetables

  • ½ onion, minced (optional)

  • 1 carrot, minced (optional)

  • 1 Tbsp of butter or plant-based substitute

  • 1 Tbsp of all-purpose flour

  • 1 cup of milk or plant-based milk, warmed in microwave

  • 2 garlic cloves, minced (optional)

  • ½ cup of chopped kimchi

  • 2 Tbsp (or to taste) Kimchi Sauce

  • 1-40oz jar of marinara sauce

  • 1 cup of grated cheese or substitute

  • 2 lbs of fresh rice cake cylinders (or refrigerated packages*), cut into ½” pieces

Preparation:

  • Preheat oven to 350°F.

  • Sweat vegetables:  In a fry pan, on low-med heat, add oil and let it warm up.  Add onion, carrot and let it sweat; lower heat if vegetables start to brown, add a little bit of water if required.  Stir occasionally to avoid browning.  Once the onions are translucent and carrots soften, remove off heat, and place the vegetables into a bowl and place off to the side.

  • For the roux:  Place the pan back on the heat at medium, melt butter, next add flour and stir continuously to avoid scorching.  Reduce heat to med-low.  Let mixture gently cook to avoid raw flour taste; continue to stir for about 45 seconds.  Next, slowly add warm milk into the mixture, stir continuously to remove any lumps and avoid burning until till tiny bubbles form. 

  • Next, stir in garlic, chopped kimchi, kimchi sauce and the sweated vegetables into the mix.  Add the marinara sauce, stir and bring to a gentle boil.  At this point, add cheese, stir, and remove from heat.

  • In a baking pan, spoon sauce and spread across the bottom of the pan.  Place the rice cake pieces into the pan, pour in the sauce to the desired consistency.  Mix to incorporate sauce evenly throughout.  To avoid clumping, make sure to use enough sauce to coat each rice cake. 

  • Cover with foil, bake in oven for 35-45 mins, till rice cakes are soft and pillowy.  Remove from oven, let rest for 5 minutes.  Remove foil carefully to prevent burn from the steam.  Serve in bowls, add additional grated cheese on top, if desired, and garnish with fresh chopped green onions.

* If using refrigerated packaged rice cakes, soak rice cakes in cold water for 30 minutes before baking.

suin park
Fresh Pineapple Kimchi Skewers

This snack takes me back to the streets of Thailand, ladies selling little bags of sliced fruits with a side of dried chili pepper flakes and salt. Our pineapple skewer was inspired by those flavors - sweet, salty with a spicy kick.

What you will need:

  • whole pineapple

  • 1 tbsp red onions or shallots, finely minced

  • 1 tbsp fresh mint, chiffonnade

  • 1-2 tbsp kimchi sauce (or to taste)

Preparation:

  • Cut the top & bottom off the pineapple; remove the exterior around the fruit.

  • Cut fruit in half, then cut each half into quarters.

  • Remove the core from each quarter.

  • Slice each quarter lengthwise into 3-4 wedges.

  • Place wedges into a bowl, toss in red onions and kimchi sauce.  Mix gently with clean hands to ensure even coating. 

  • Place in the fridge until ready to serve.  when serving, place each wedge through a bamboo skewer. Sprinkle with fresh mint chiffonnade (garnishing just prior to serving prevents wilting and discoloring).

* Can be made the night before to half hour before serving.  

* Keeps in the fridge for up to 2-3 days.


Other ideas:

  • Doing a BBQ? feel free to throw the skewers on the grill to caramelize.

  • Can also be made into a salad or salsa, using same ingredients, by simply cutting the fruit to appropriate size.

  • Recipe is also suited for other fruits such as firm mangos, apples, jicama, asian/bosc pears.

forward ROOTS fresh pineapple kimchi skewer.jpg
suin park
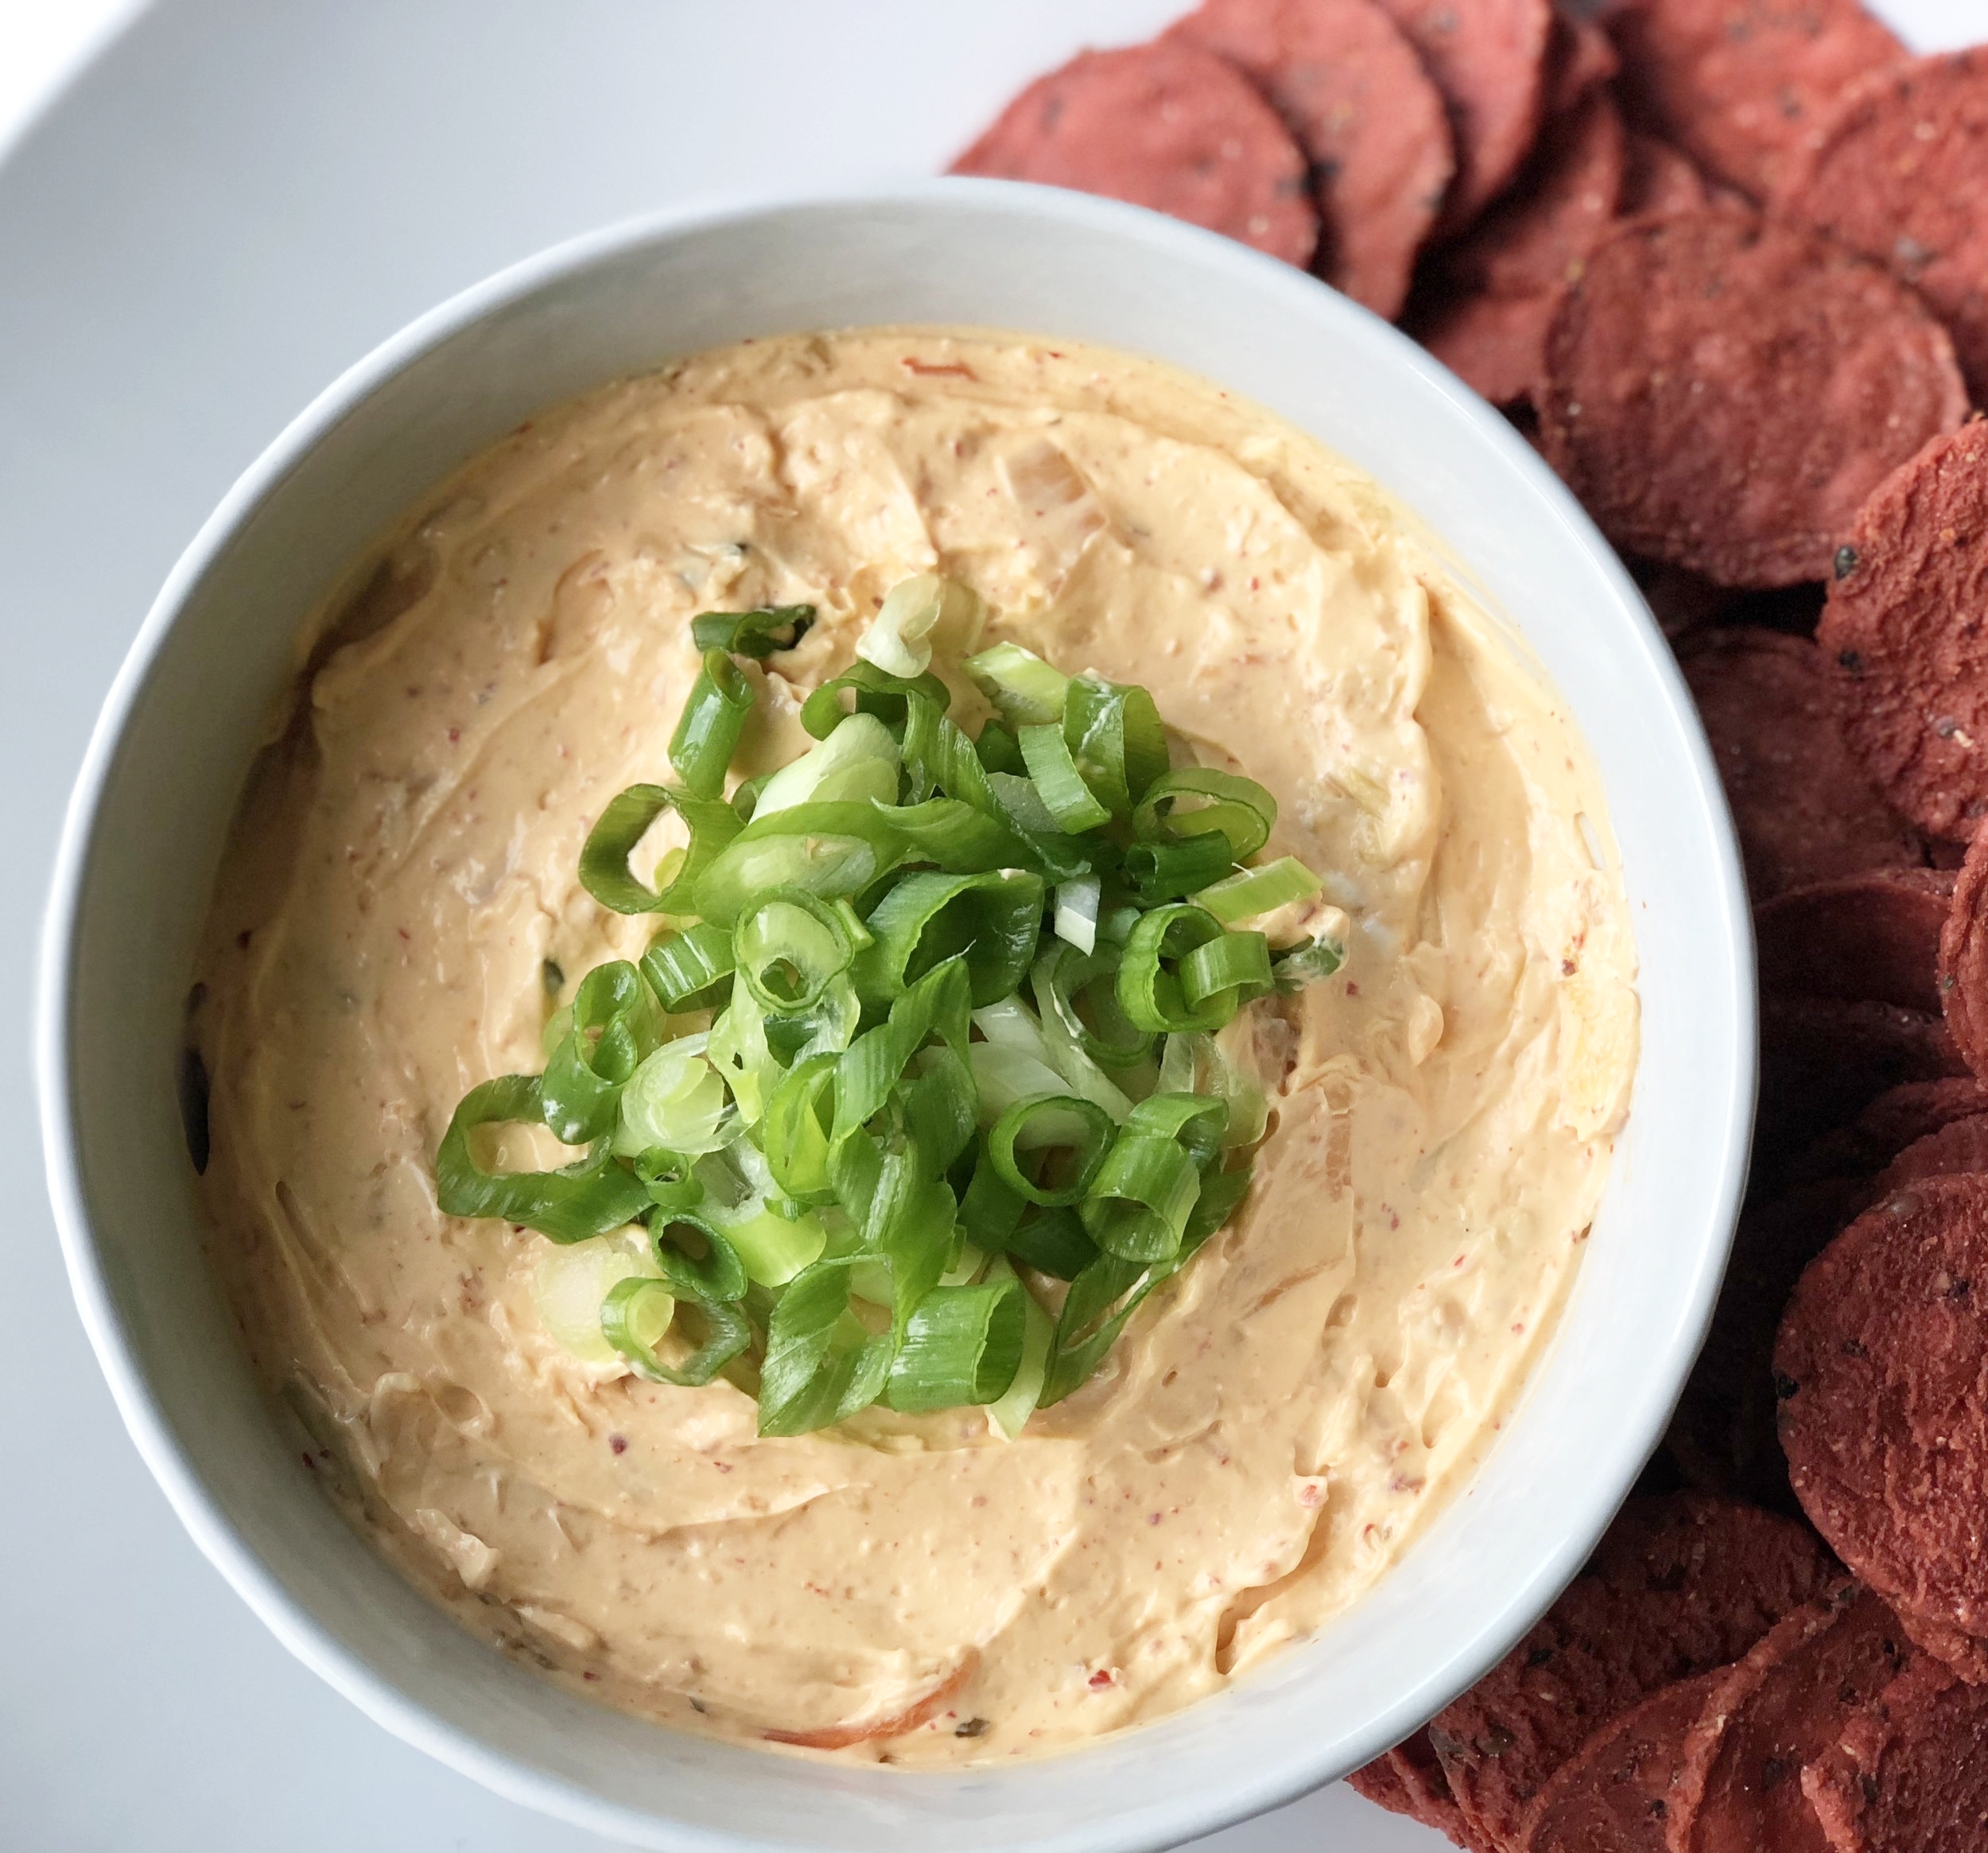
Kimchi Cream Cheese Party Dip
forward ROOTS kimchi cream cheese dip, bagel spread.jpg

My mom ate toast in the mornings at the store, it was quick and easy between customers. She would place slices in a toaster oven, two at a time, always at the same settings that resulted in an evenly light brown surface with the right amount of hardness. She let it cool just enough to avoid getting the bread soggy from the mayo and kimchi. She actually ate all western foods with kimchi, she said it went down easier. Sometimes, she would talk at length praising kimchi and how it was a taste saver. She later moved from mayo to cream cheese, I decided to use both in this dip.

What you’ll need:

  • 1 - 8 oz package of cream cheese (room temperature)

  • 1-2 Tbsp of mayo

  • 1 -2 Tbsp of Kimchi Sauce

  • ¼ cup of finely chopped kimchi (optional)

  • 1 garlic clove, finely minced

  • 1 shallot, finely minced (optional)

  • Dash of sugar (optional)

  • Salt, to taste (optional)

- Substitute: if you have no kimchi on-hand, use fresh chopped onions and minced carrots to give some texture.

Preparation:

  • Whip cream cheese, mayo and kimchi sauce with a hand mixer; or stir by hand but it will have chunky pieces of cream cheese (and there’s nothing wrong with that!).

  • Stir in chopped kimchi, garlic, shallots and sugar. Mix thoroughly.

  • Keep dip covered in a container & refrigerated until ready to serve. Can be made 1-2 days in advance, so that the flavors meld. 

* When serving, always use a clean spoon.

* Keeps in the fridge up to 7-10 days.

* Use it on toast, bagels, sandwiches; dip your crackers & crudites; slather it on fresh salmon and bake; throw dollop(s) into Mac & cheese.

suin park
Sauteed Shrimps

Seafood & kimchi are natural collaborators.  This combo is great in salads, wraps, tacos or simply over rice.

Start by soaking the shrimp in a cold salt brine before cooking, this refreshes the shrimp, giving it a plump juicy snap. I prefer using smaller shrimps, they tend to be sweeter and doesn’t require deveining.

What you will need:

  • 1 lb of shrimp (41/50 to 61/70)

  • 1-2 tbsp butter, ghee, or cooking oil (neutral flavored (grapeseed oil, canola oil (non-gmo))

  • 1 tbsp kimchi sauce, or to taste

  • 1 tbsp of garlic (optional)

Brine:

  • 2 tbsp salt (seasalt, kosher)

  • 1 quart of water

Preparation:

  • In a large bowl, soak shrimps in salt & water brine.  Let soak for 20-30 minutes in the fridge.  When ready to use, strain the water, rinse and drain. Pat the shrimps dry with paper towel.

  • Heat the frying pan on med-high heat, add butter (or oil of choice) and let it heat up, Next, add the kimchi sauce and let it gently bubble, at this point toss in the garlic and stir, then add in the shrimps, stir to coat evenly.  When the shrimps turn opaque, turn off the heat and plate.  Small shrimps cook rather quickly, so do not walk away from the stove, and stir frequently.

* Note: Soaking the shrimps in the brine helps remove the sticky film often found on frozen shrimps, as well as improving the taste & texture (the snap).

Smaller shrimps cook faster and does not require deveining; larger shrimps (31/40+) may need to be deveined to avoid grittiness.

shrimp ksauce.jpg
suin park
Jicama Cubes

When we moved to Canada, it was hard to find Korean produce, my mother tried to find vegetables similar in texture to the produce in Korea. Here is a simple kimchi.

I love the crispy textures and clean taste of jicama, especially when eaten fresh. Koreans enjoy freshly made kimchi just as much as the fermented kinds.

What you will need:

  • jicama

  • chives (or scallions)

  • shallots or red onions, minced (optional)

  • sesame seeds

  • dash of salt, to taste (optional)

Preparation:

  • peel the jicama and cut into cubes and place in a bowl.

  • cut chives 1/2" length and toss into the bowl.

  • add kimchi sauce (to taste) and mix to incorporate sauce evenly. 

  • garnish with sesame seeds - can be eaten immediately or made a few hours in advance.

it's delicious & good for you:

jicama is full of vitamins (vitamin C, potassium, folates, riboflavin, pyridoxine, pantothenic acid, and thiamin); minerals (magnesium, copper, iron, and manganese); antioxidants, dietary fiber and water. 


IMG_2856.jpg
suin park